




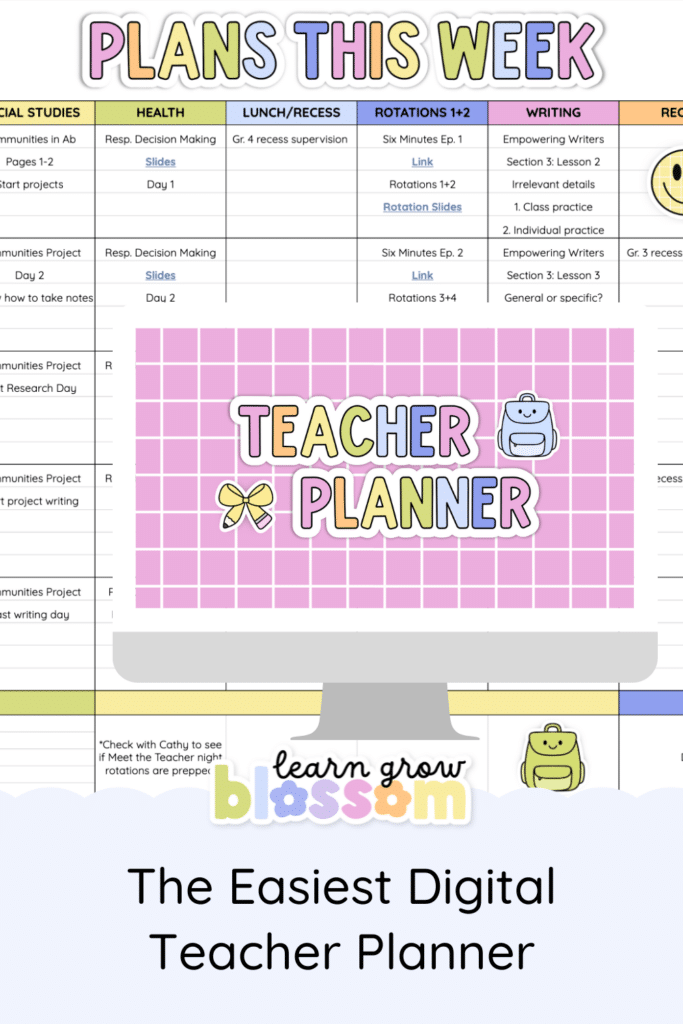
I spent years going back and forth on paper planners versus digital ones. Then I created a Google Sheets teacher planner, the same one I sell now, and it settled the debate for good.
I was tired of filling out plans in my paper planner every single week, noting down the same subject titles and jot notes like “morning meeting” day after day, wishing I could just hit copy and paste. So I tried a few different digital planners hoping one would save me time. Most of them ended up feeling complicated with way too many steps just to jot down what I was teaching. A Sheets planner fixed that for me. It’s the one format where you set up templates once and then just duplicate, tweak, and go.
Here’s why it’s the easiest digital teacher planner you’ll try this year.
It’s almost completely editable
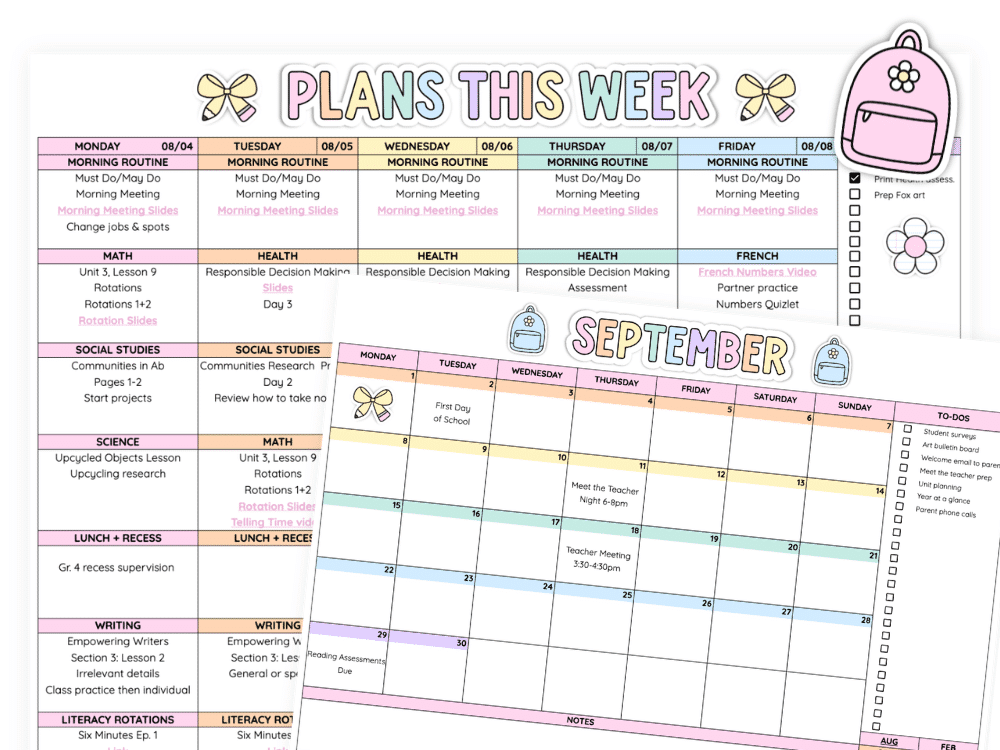
Add rows. Delete columns. Change colours. Rename headers. Move things around until your digital teacher planner actually fits how you teach, not how someone else decided a planner should look. The only part that’s locked in is the cute bubble letter headers at the top of each sheet, because those are inserted as images rather than text. Google doesn’t allow font importing so it’s the only way to get those cute sticker font headers. Don’t want them? Delete them and swap in a Google font instead. That’s genuinely the only rule in the whole planner.
Add or delete whatever you need
Say your day only has five subjects, not ten. Highlight the extra columns and hide them, and now you’ve got five. Need another row in your timetable because your Friday schedule is different from the rest of the week? Insert one above and keep going. A printable planner asks you to work around its layout. This one bends around yours. Not super comfy in Google Sheets? The tutorial video will show you have to do this. Easy peasy!
It works no matter how many subjects you teach
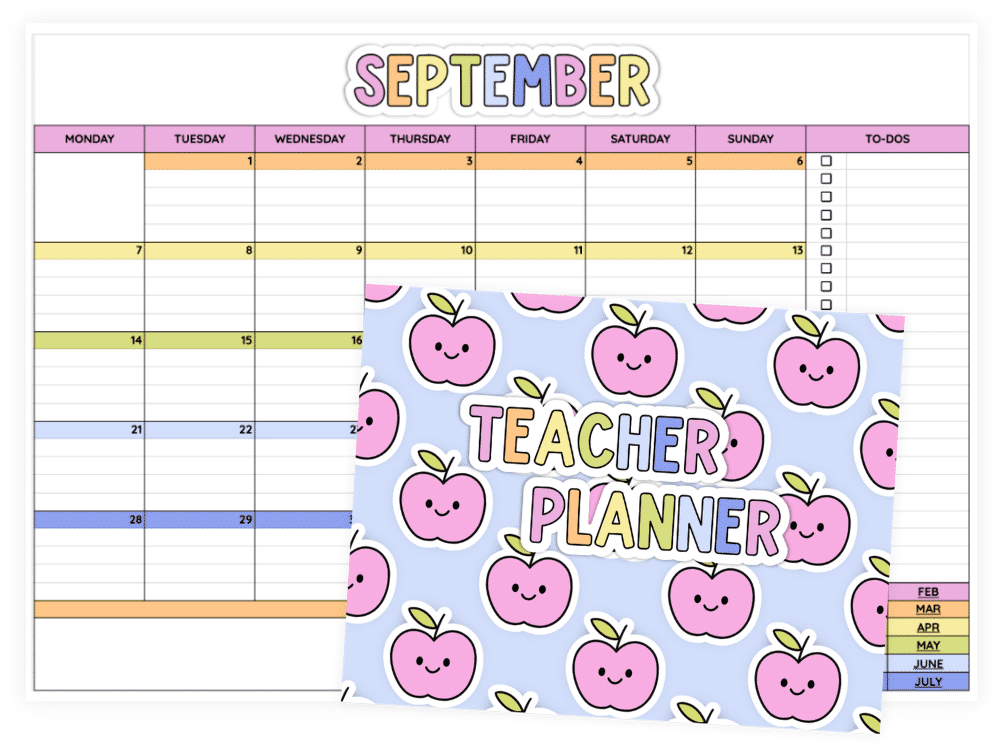
Self-contained classroom, prep coverage, split grades, it doesn’t matter. Add subjects, remove subjects, resize the whole layout to match your day. Teach four subjects or twelve, this planner scales with you instead of boxing you into someone else’s version of a school day. I can’t tell you how many times I thought I found a planner that I loved until I saw it only have 6 or 8 subjects per day and I needed 10, minimum.
Templates for however you like to plan
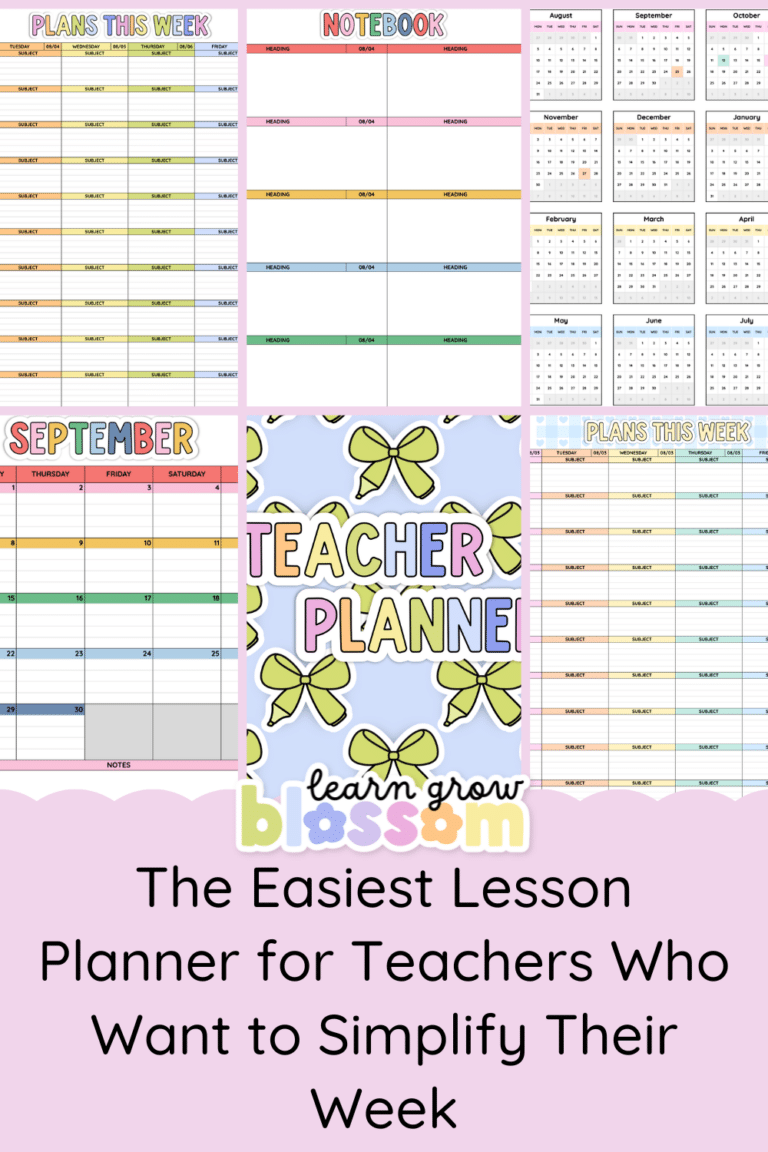
You get three weekly layouts (subjects across the top, subjects down the side, or fully horizontal) and two daily templates. Pick your favourite, hide the rest, and build yourself a starter template with your recurring subjects and routines already filled in.
This is the part that actually saves you time week after week, not just the first time you set it up. When I was teaching, I kept my morning meeting slides linked right in my template because I used them every single morning. Same with my rotation slides for math. I never had to go dig those links up again. I’d just duplicate my template, change the date, and those links were already there waiting for me. That’s the whole point of a digital planner over a paper one. You set it up once and every week after that gets faster.
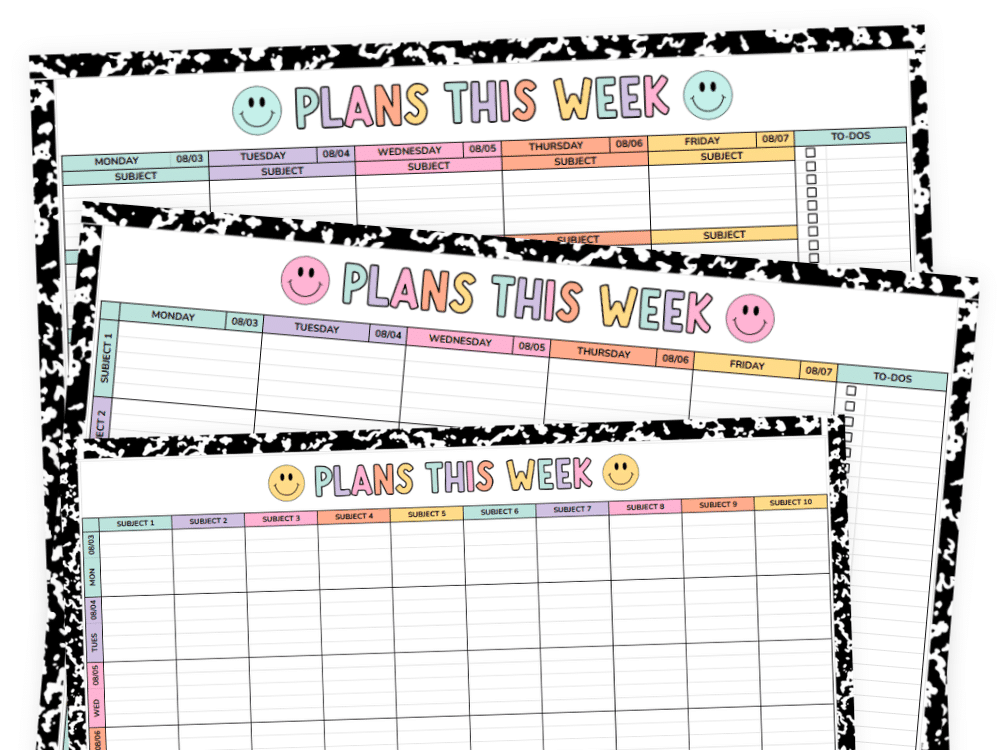
Not techy? No problem.
If you’re someone who says “I’m just not techy” and pictures spending your Saturday troubleshooting a spreadsheet, this isn’t that. You don’t need to know how to build a digital teacher planner, just how to type into the cells, copy and paste, and delete a row or column so you can use it. Just watch the tutorial video, follow along, and you’re done. If you can copy and paste a link, you can use this planner. I promise.
You get a full video tutorial
I know a digital teacher planner can feel intimidating if you’ve never used one before, so I recorded a full walkthrough. It covers choosing your cover, using stickers, adding links, creating templates, and printing tips, start to finish, so you’re not guessing your way through Google Sheets on your own. Most teachers have their planner fully set up in about 10 minutes after watching it. Not a weekend project. Ten minutes. 👀
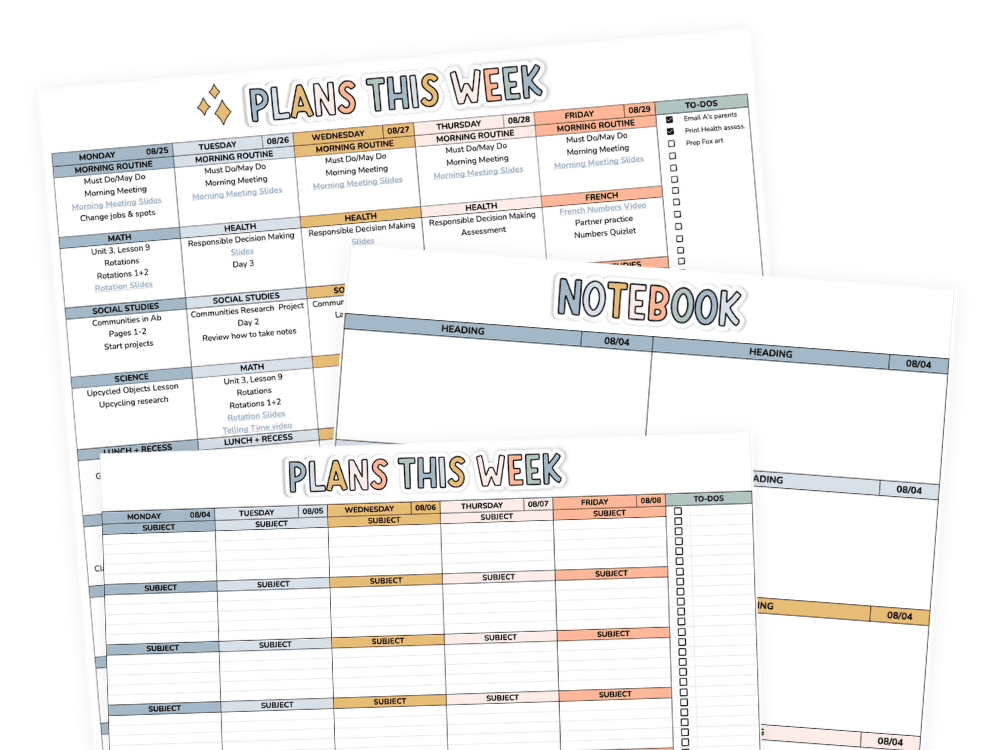
Print it whenever you want
If you like to have paper plans to refer to throughout the day as you teach, me too. So here’s the move: plan digitally, then print your week and keep it handy while you teach. I show you exactly how to turn off the grid lines and set your page breaks so it prints clean instead of cutting off halfway through Friday. You get the flexibility and time saving benefits of digital planning without giving up your paper copy if that’s what you need in front of you.
Share it with your sub, your co-teacher, or your principal
Need someone to see this week’s or day’s plans? Share the link and they’re in, no printing extra copies or digging through email attachments. If you’re off sick and a sub needs your plans fast, this takes five minutes instead of a full morning of panic. You don’t need to be at your desk, you don’t need to remember where you saved the file. Send the link from your phone and go back to bed.
Keep every link you need in one spot
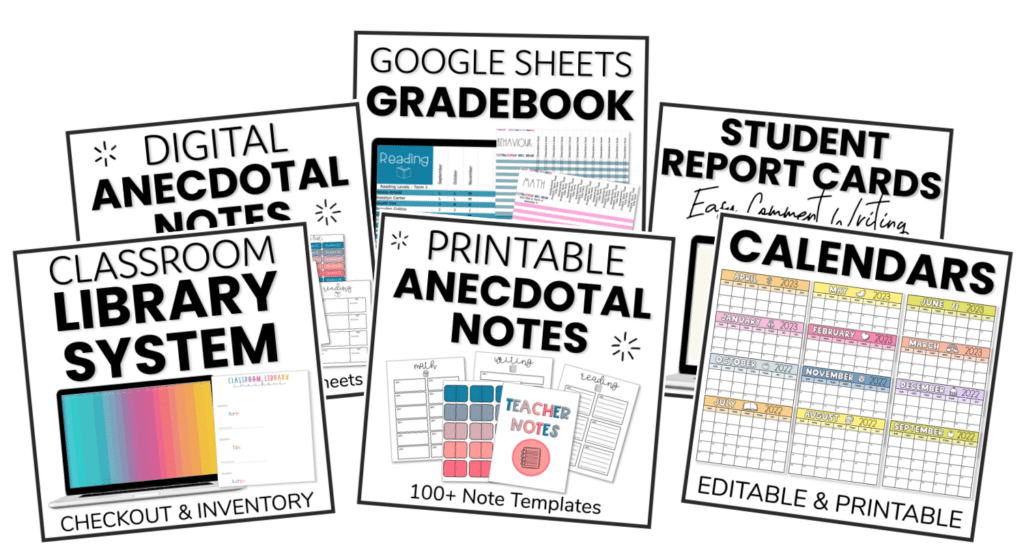
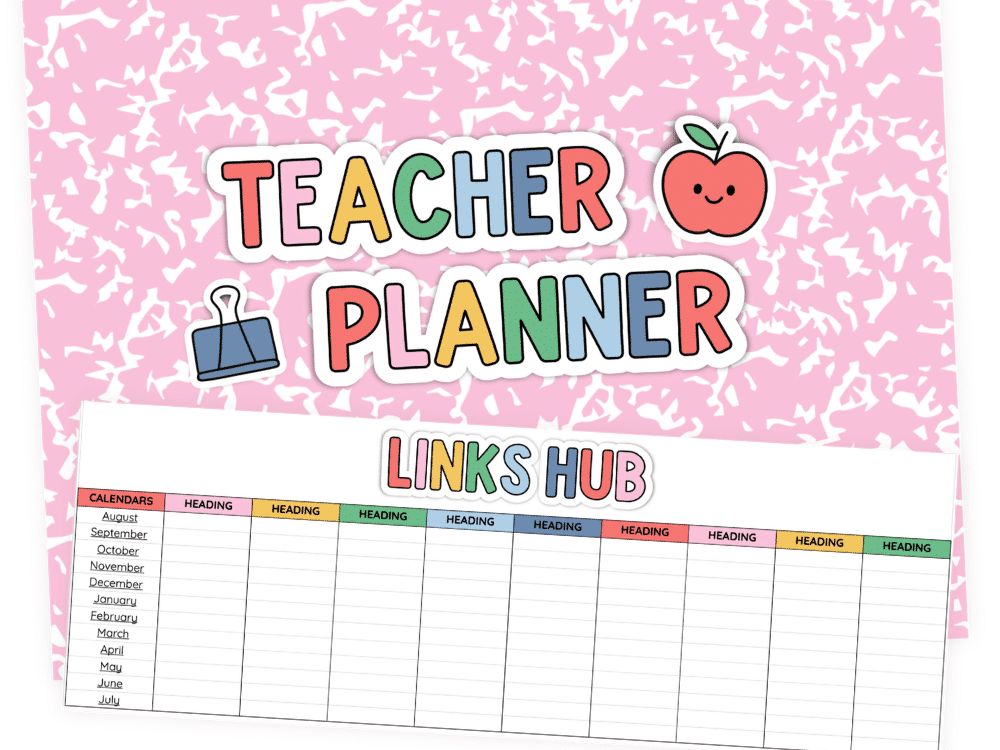
The links hub is where I’d drop my curriculum documents, my digital gradebook, my class slides, whatever I use daily. Click once and you’re there instead of hunting through bookmarks or old emails. Add links, remove links, change them whenever your tools change. This digital teacher planner stays useful all year long.
So many stickers
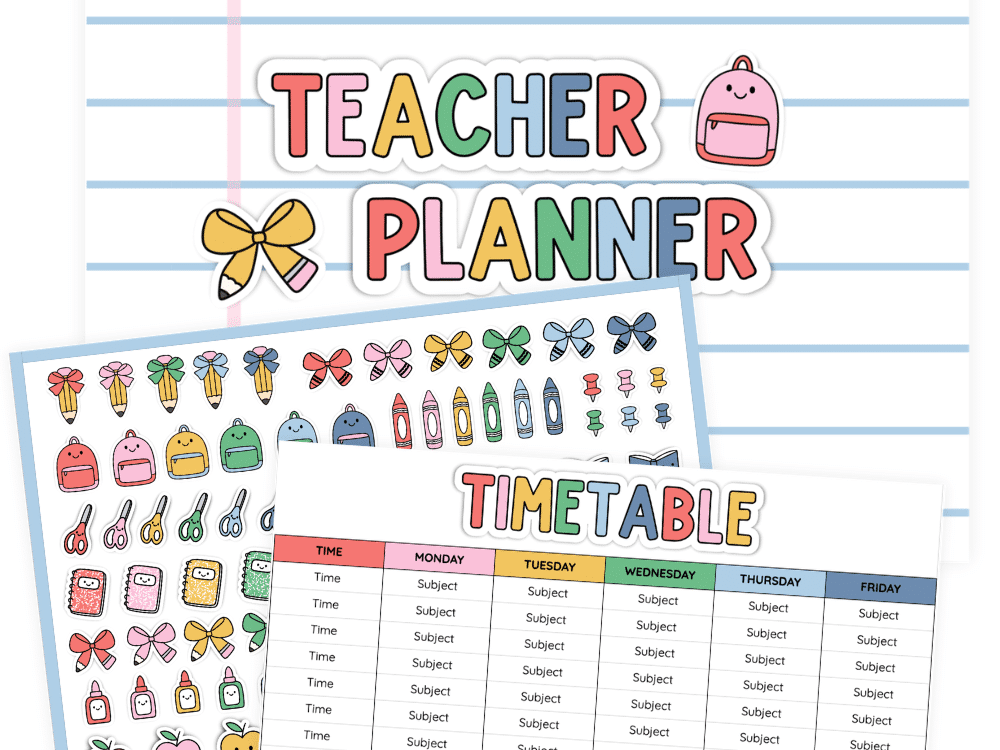
There are dozens of hand-drawn digital stickers included, and you can resize and copy them as many times as you like. I used to hoard the stickers in my paper planners, saving them for the “perfect” spot instead of actually using them, because once they were gone, they were gone.
With a digital teacher planner, that’s not a thing anymore. Use them on every single page if you want. Copy the same sticker fifty times. You will never run out, so there’s no reason to save them for later. Move them around, layer them, decorate your cover page or your weekly plans. It’s a small thing, but it makes planning feel a little more like you instead of just another task to check off.
And it’s cheap too
I used to spend close to $100 on beautiful paper planners, and I could only use them once before starting fresh the next year. This one costs a tiny fraction of that, and it’s priced lower than most digital teacher planners too. It’s a one-time purchase, and it comes with a few years of dated calendars built in, so you’re not buying it again next fall. The price also reflects how the planner is built. It’s designed to be simple, so you’re not paying for a hundred pages you’ll never actually open. You’re paying for the pages you’ll use, nothing extra tacked on to bulk it up. Easier to use. Cheaper to buy. What’s better?
And the best part? So many looks to choose from
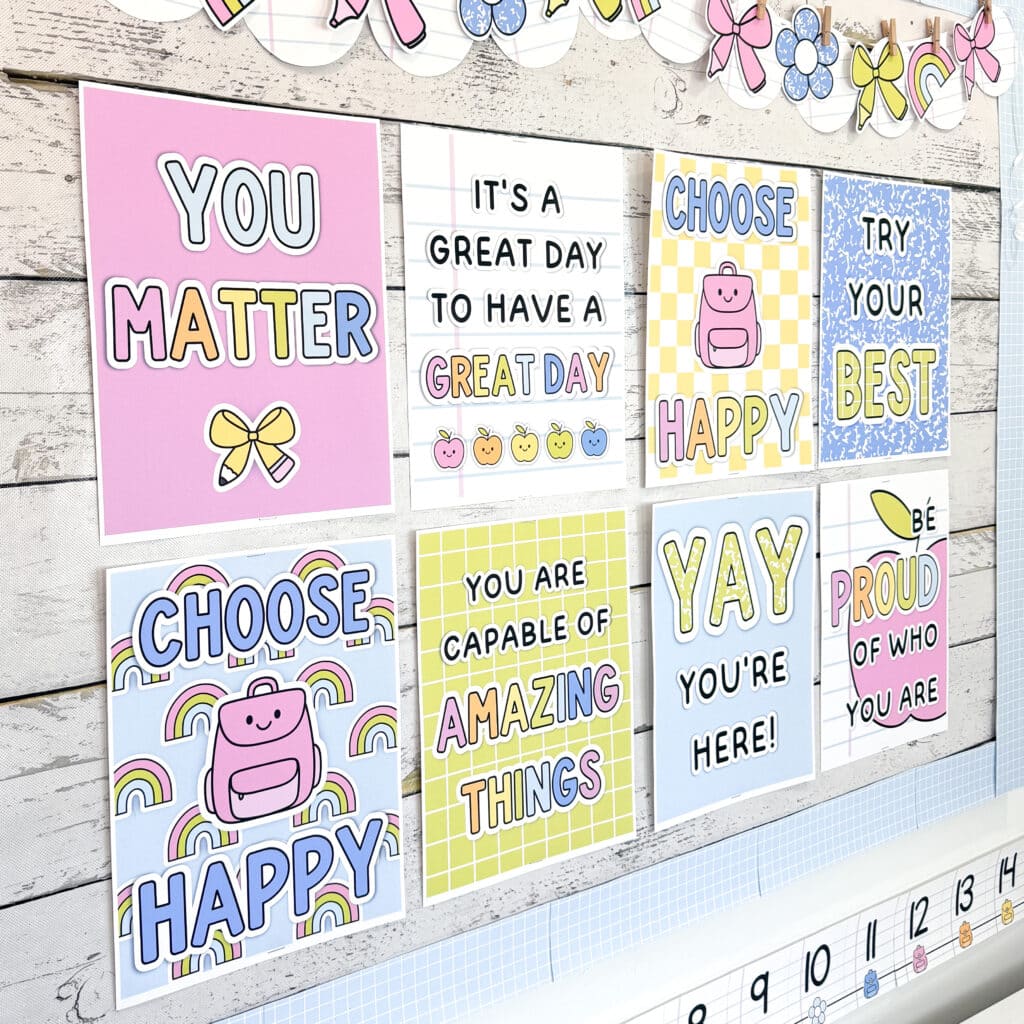
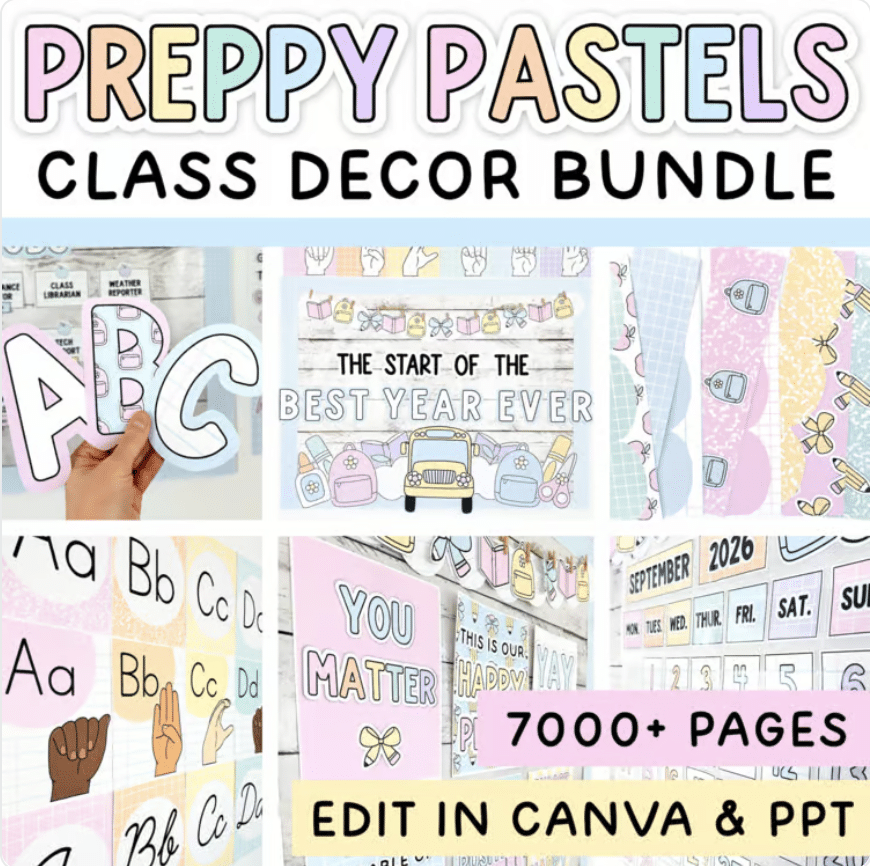
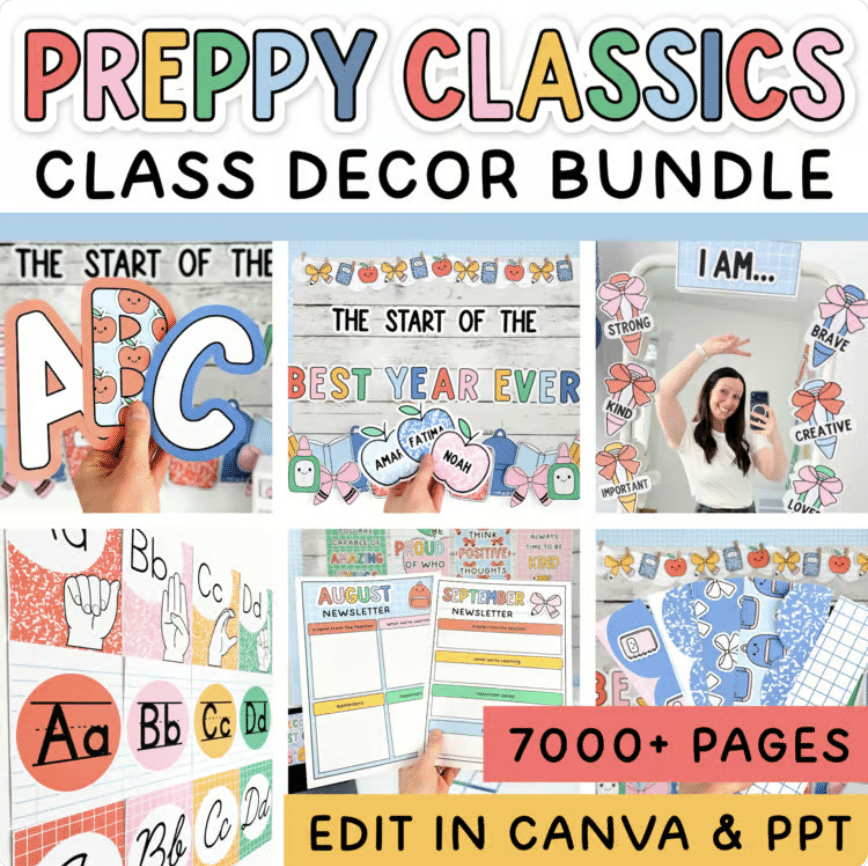
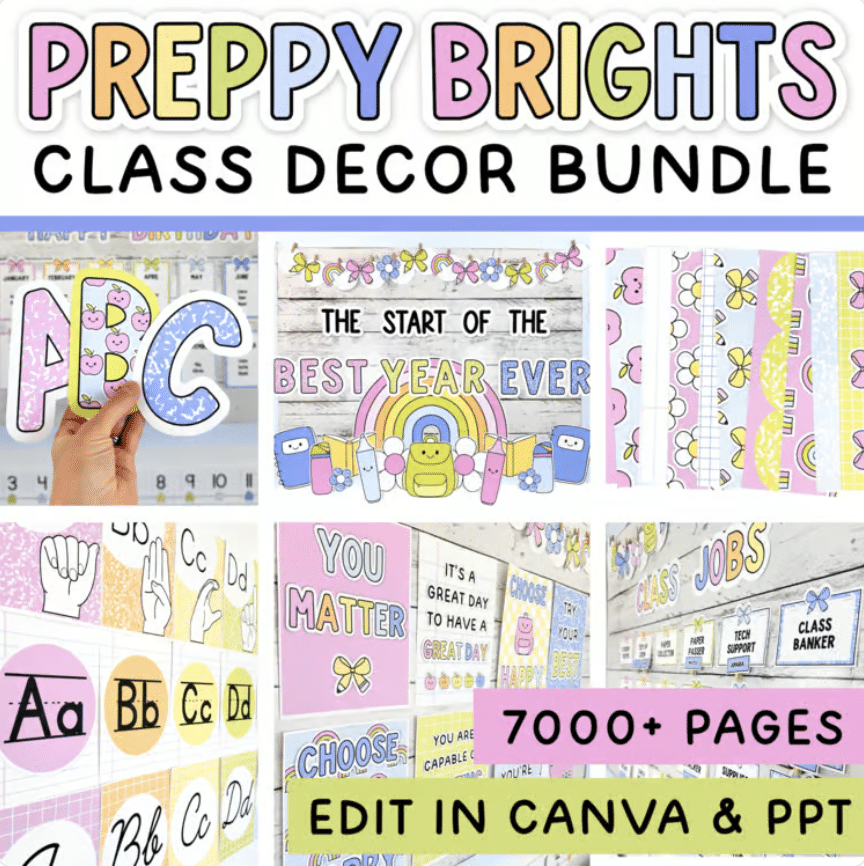
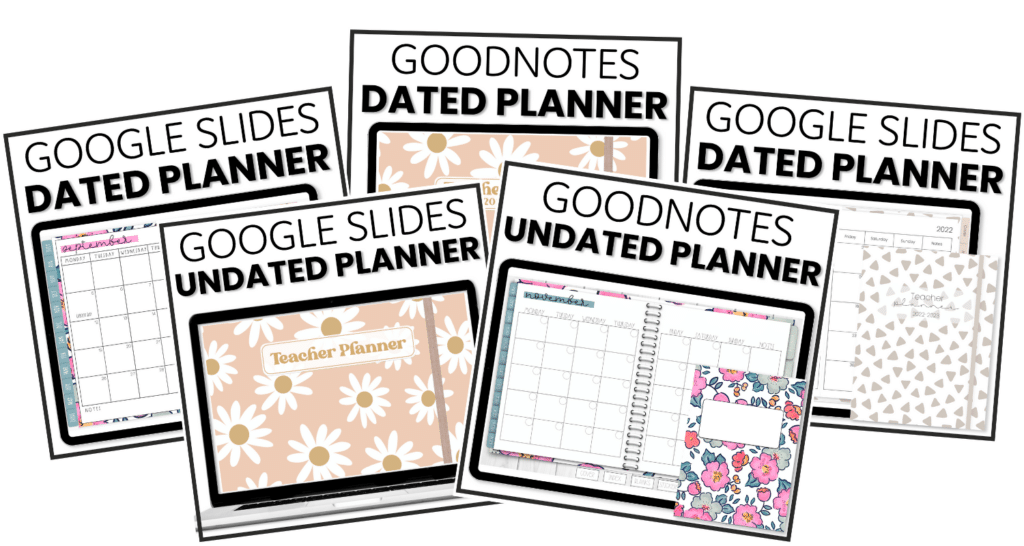
There isn’t just one planner. The templates and covers that everyone loves comes in Pastels, Brights, Composition Notebook, Classics, Boho, Pink Coquette, and more. Pick the aesthetic that matches your classroom decor, or switch it up every year. Either way, they’re cute and functional. That’s kind of my whole thing.
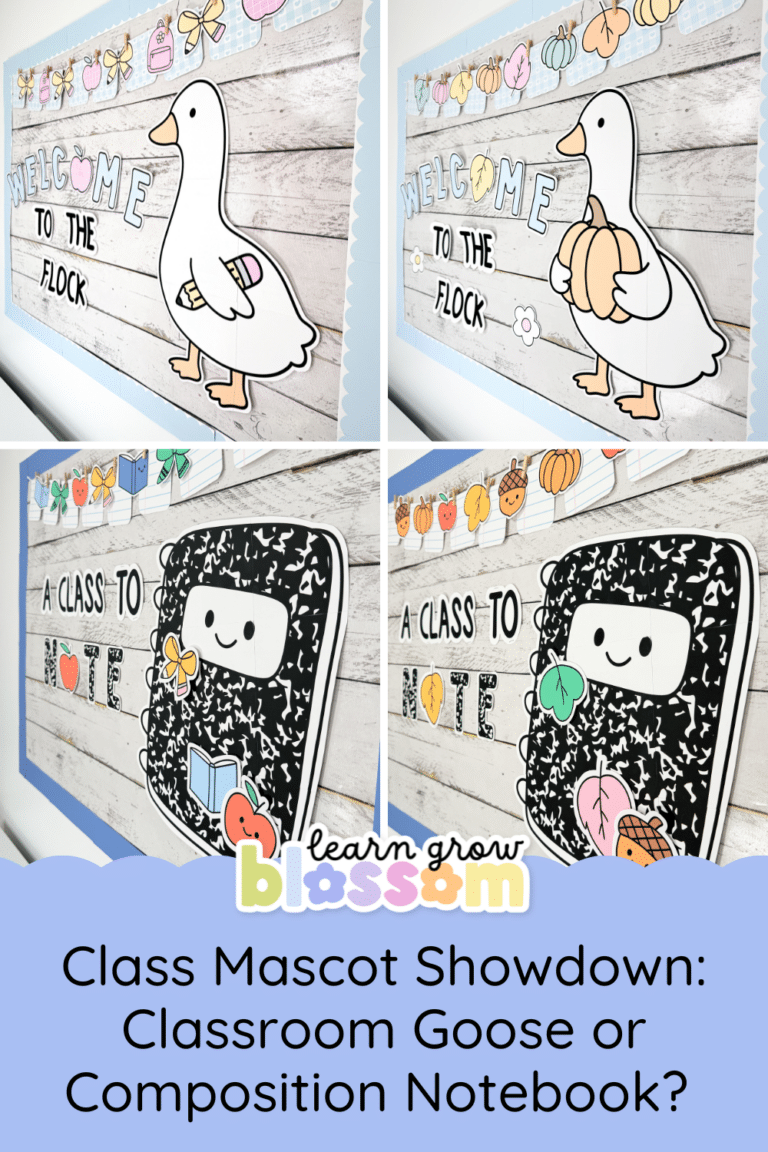
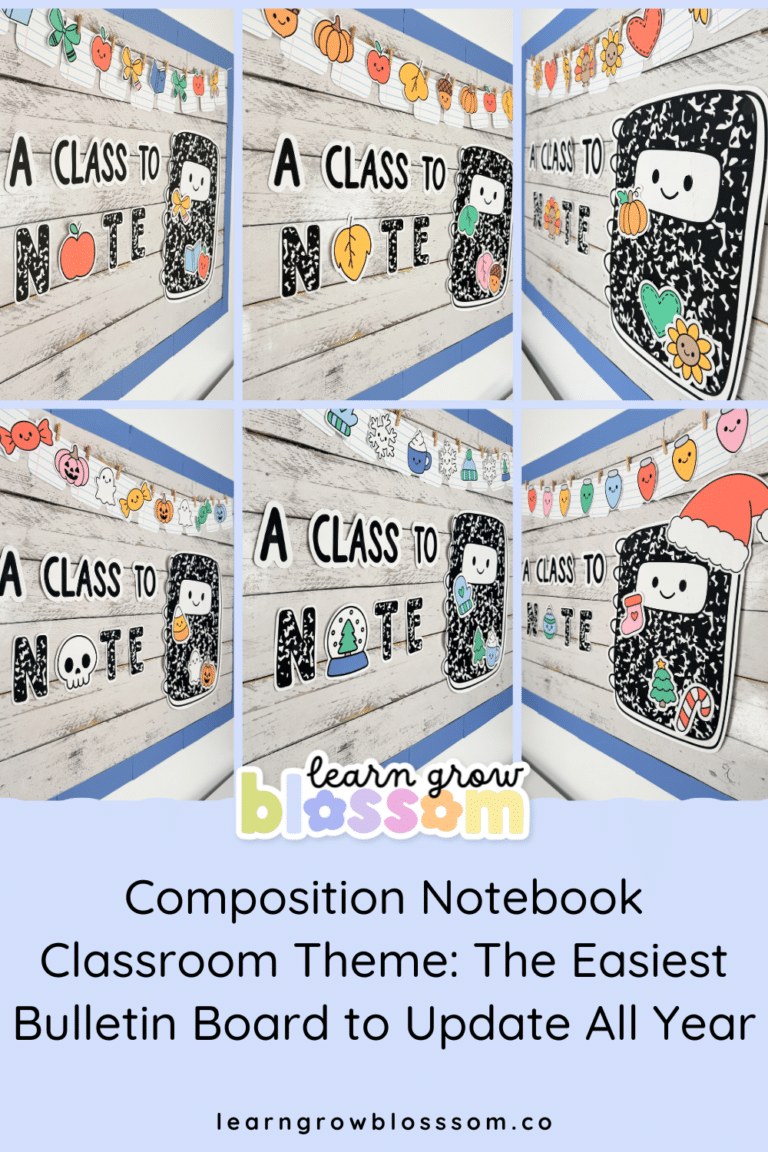
And if you fall for one of these looks, most of them have a matching classroom decor bundle too, so you can carry the same vibe from your planner right onto your walls. Want a little peek at the bundles? Check out this classroom themes blog post.
What teachers are saying
Jessie. J. said “This digital teacher planner is so cute and so easy to use!! It has been great linking all my resources and laying out all my plans.” ⭐⭐⭐⭐⭐
Jennier R. said “The intro video made setup a breeze, and I was able to customize everything to fit my needs without any hassle. I can’t wait to put this planner to use!” ⭐⭐⭐⭐⭐
Stacy S. said “I love how easy this resource is to use. I also love how I can make it my own so it works for me!” ⭐⭐⭐⭐⭐
If you’re ready to make your planning life easier, grab your Google Sheets teacher planner and thank me later. ✌️